Top 10 Audio Installation Tips for Stunning Sound Quality
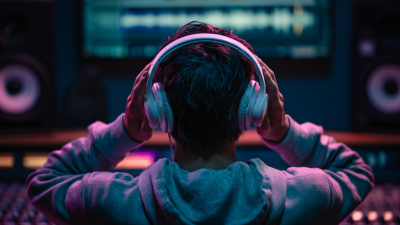
In the world of audio installation, achieving stunning sound quality is both an art and a science. According to a recent report by the Consumer Technology Association, over 70% of consumers believe that sound quality significantly affects their listening experience. However, many installations fail to realize their full potential due to common mistakes. Installing audio systems involves more than just placing speakers and connecting wires. It requires knowledge and attention to detail.
Studies show that improper positioning of speakers can diminish sound quality by up to 50%. This highlights the need for careful planning. Yet, many audio enthusiasts overlook room acoustics, leading to unsatisfactory outcomes. Understanding the room’s characteristics can drastically improve performance.
Professionals emphasize that user feedback is crucial in the audio installation process. Gathering insights can reveal unexpected challenges and solutions. This reflection allows for refinements that enhance overall quality. For stunning sound, every detail matters. The right installation techniques can transform an enjoyable listening experience into one that captivates and delights.
Understanding the Importance of Room Acoustics for Optimal Sound Quality
Room acoustics play a crucial role in achieving optimal sound quality. Every room has unique characteristics that affect sound waves. Hard surfaces reflect sound, while soft materials absorb it. For instance, large glass windows can create echoes, diminishing clarity. It's vital to assess these elements before setting up your audio system.
Consider the placement of furniture and decor. Carpets and curtains can improve sound quality by reducing unwanted reflections. Avoid cluttering the space, as this can interfere with sound waves. Experimenting with these placements may reveal surprising results. You might need to rearrange multiple times to hit the sweet spot.
Don't disregard wall treatments. Adding acoustic panels can significantly enhance sound clarity. Although they may seem like an afterthought, their impact is profound. Reflecting on your current setup could inspire refinements. Remember, creating the perfect sound environment requires continuous adjustment and keen observation.
Choosing the Right Speakers: Size, Type, and Placement for Best Experience
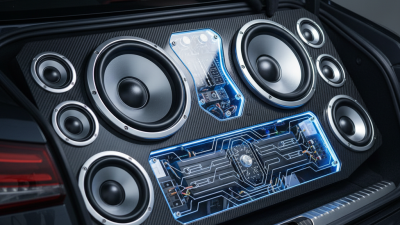
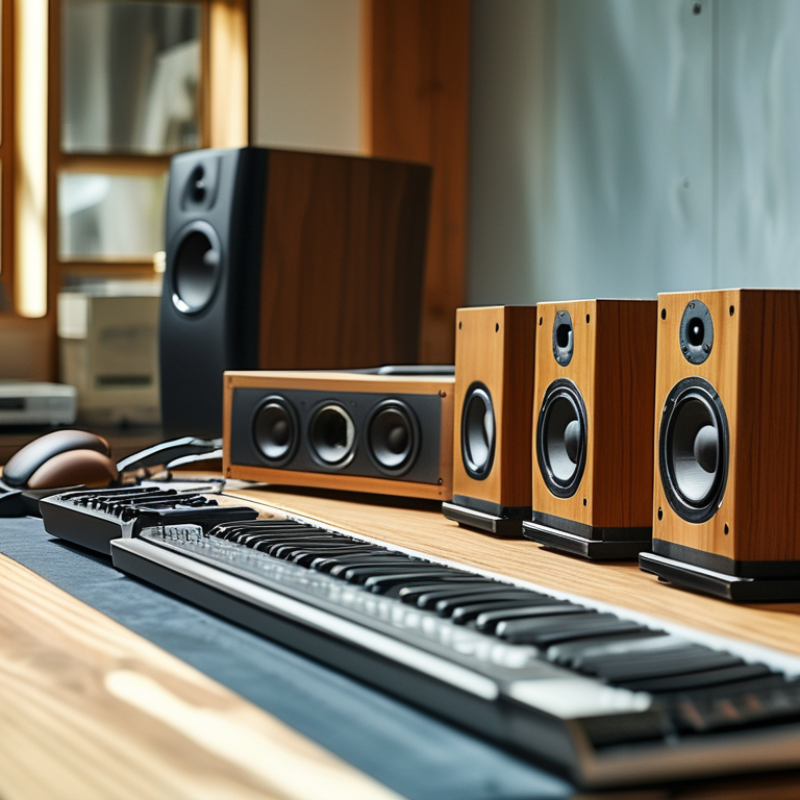
Choosing the right speakers involves several factors. Size is crucial. Large speakers can produce deep bass, but they might overwhelm a small room. Small speakers save space but may lack depth. Always consider your room's dimensions before making a decision.
Each type of speaker offers a unique sound experience. Floor-standing speakers fill a room with rich sound. Bookshelf speakers optimize sound in smaller spaces. Place them at ear level for the best audio quality.
Placement matters too. Avoid corners, as they can distort sound. Position speakers away from walls for clearer audio. Experiment with different arrangements. This trial-and-error approach often leads to unexpected improvements in sound quality. Listen carefully to each setup and adjust accordingly.
Speaker Size vs. Sound Quality Ratings
Effective Use of Bass Traps and Acoustic Panels to Reduce Sound Distortion
Achieving stunning sound quality requires more than just good speakers. The strategic implementation of bass traps and acoustic panels is crucial. According to a study published by the Journal of the Audio Engineering Society, poorly treated rooms can lead to sound distortions affecting up to 60% of the audio experience.
Bass traps effectively manage low-frequency sounds, which can easily overpower other frequencies. In untreated spaces, these heavy sounds can create a muddy listening environment. A well-placed bass trap can cut this excess, allowing for clearer highs and mids. Placing them in the corners of a room often yields the best results, as these areas tend to accumulate the most bass.
Acoustic panels also play a significant role. They absorb mid to high frequencies, reducing echoes and improving clarity. Reports suggest that using panels can enhance vocal intelligibility by around 50%. However, achieving balance can be challenging. Overusing panels might create a dead room feel, reducing the liveliness of the sound. Finding the correct blend of absorptive and reflective surfaces is key to fine-tuning your setup. Each room will require different treatments, so trial and error may be necessary to identify the perfect configuration.
Top 10 Audio Installation Tips for Stunning Sound Quality
| Tip No. |
Audio Installation Tip |
Description |
Effectiveness |
| 1 |
Optimal Speaker Placement |
Position speakers based on room acoustics to minimize reflections. |
High |
| 2 |
Use Bass Traps |
Install bass traps in corners to absorb low-frequency sounds. |
Very High |
| 3 |
Acoustic Panels |
Use acoustic panels on walls to reduce echoes and improve clarity. |
High |
| 4 |
Optimize Speaker Height |
Adjust height for optimal ear level alignment. |
Medium |
| 5 |
Room Layout |
Arrange furniture and equipment to enhance the sound field. |
Medium |
| 6 |
Calibration |
Use calibration tools to adjust settings for optimal sound. |
High |
| 7 |
Cable Management |
Keep cables organized to reduce interference and clutter. |
Medium |
| 8 |
Furniture Impact |
Choose furniture that doesn’t obstruct or reflect sound. |
Low |
| 9 |
Listening Position |
Identify and optimize the best listening spot in the room. |
High |
| 10 |
Regular Maintenance |
Schedule regular checks and updates on audio equipment. |
High |
Wiring and Connectivity: Ensuring Quality Cables and Proper Connections
When focusing on wiring and connectivity for a top-notch audio installation, using quality cables is essential. High-grade cables significantly reduce signal loss and interference. They ensure that sound travels from your source to speakers without degradation. For example, using thick and reliable speaker wires can enhance clarity and richness in your audio experience.
Proper connections are equally vital. Loose or corroded connections can lead to poor sound quality. Always ensure that cables fit snugly and are free from dirt or oxidation. A bad connection can result in static or inconsistent sound. Simple maintenance, like routine checks, can save you from unexpected issues. Investing time in connecting your audio equipment properly pays off in the end.
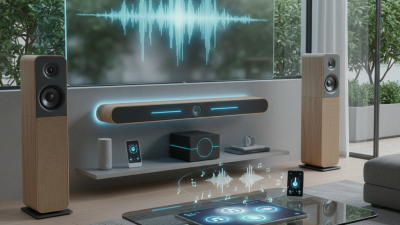
Calibration Techniques: Using Sound Measurement Tools for Precision Tuning
Achieving stunning sound quality involves precise calibration. Utilizing sound measurement tools can significantly enhance your audio experience. These tools provide accurate data about sound levels and frequencies. By measuring sound waves in your space, you can pinpoint issues that may compromise audio clarity.
When setting up your system, consider room acoustics. Hard surfaces may create echoes, while soft furnishings can absorb sound. Place microphones at different locations to gather diverse data. This ensures a complete picture of your sound environment. Make adjustments based on these measurements to achieve balanced audio.
Reflection and testing are vital components of audio calibration. Many users overlook this step, leading to subpar results. After adjustments, test with a variety of audio content. Observe how changes affect sound performance. Be prepared to iterate and refine your settings. This process requires patience and attention to detail. With careful calibration, you’ll discover a remarkable improvement in sound quality.