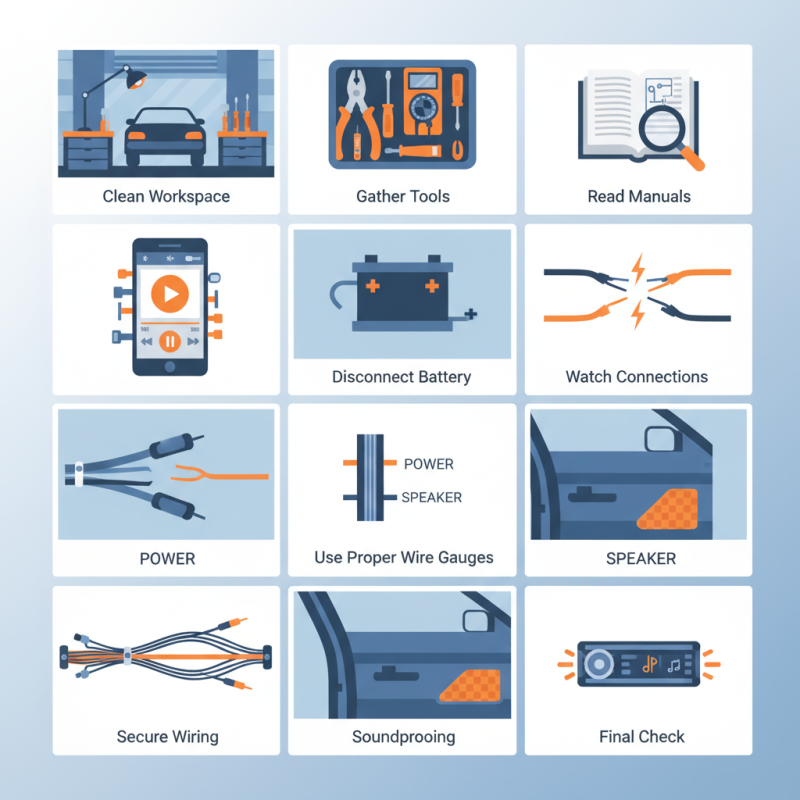
Top 10 Car Electronics Installation Tips for a Professional Setup
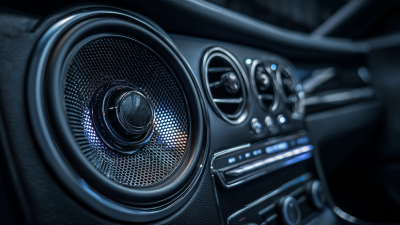
Installing car electronics can seem daunting. However, approaching it with the right tips can make a difference. Car electronics installation requires attention to detail. Every component matters, from the stereo to the speakers. A small mistake can lead to poor sound quality or even damage.
Consider the workspace. A clean, well-lit area is crucial. You might overlook this, but it affects efficiency and safety. Remember to gather all necessary tools beforehand. This can save time and avoid frustration during the installation process.
Planning is essential. Take time to read manuals and watch tutorials. Ignoring these resources may lead to mistakes. Even experienced installers can benefit from reviewing the basics. Ultimately, being mindful and prepared enhances the quality of your car electronics installation.
Choosing the Right Car Electronics for Your Vehicle
When selecting car electronics, compatibility is crucial. Not every device suits every vehicle. Research shows that over 35% of installations fail due to mismatched components. This leads to poor performance and wasted resources. Make sure to check your vehicle’s specifications. Understand the power requirements and dimensions before making a purchase.
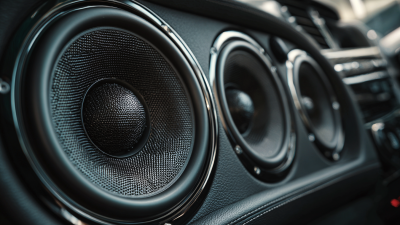
Consider the unique features that enhance your driving experience. For instance, sound systems with good amplifiers can change how you enjoy music during long drives. A quality navigation system can assist you in avoiding traffic. Yet, only 45% of drivers use these systems effectively. Inadequate installation or setup can undermine their advantages. It’s essential to prioritize user-friendly electronics.
Installation can be tricky. Often, incorrect wiring leads to problems down the road. Some users report frustrating issues with interfaces. A study indicates that 60% of DIY installations require corrections within the first year. Professional help can save you time and many headaches. Choosing the right features is just as important as proper installation. Consider your habits and needs.
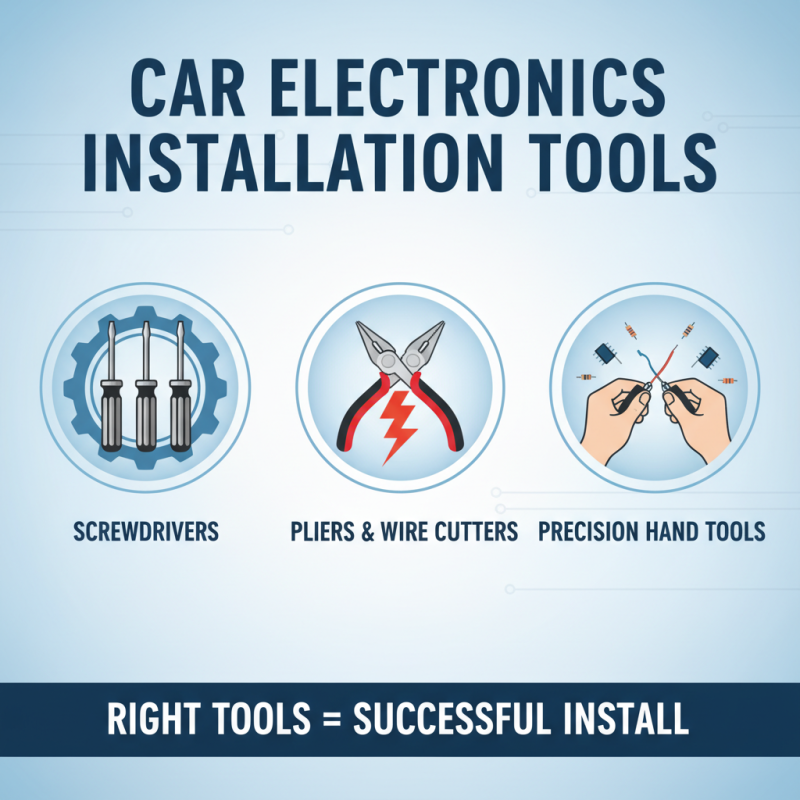
Essential Tools for Car Electronics Installation
When tackling car electronics installation, having the right tools is crucial. Start with basic hand tools. A set of screwdrivers, pliers, and wire cutters will cover many tasks. You'll encounter various screws and connectors, so choose tools that fit comfortably in your hand. Precision makes a difference.
A multimeter is essential for testing electrical connections. It helps ensure proper voltage and continuity. Without it, troubleshooting can be time-consuming. Sometimes, the simplest tools yield the best results. Don't underestimate the power of good quality electrical tape. It provides insulation and safety for your wiring.
Specialized tools can make installations smoother. For instance, a wire stripper speeds up the process. But sometimes these tools don’t work as expected. You may need to adjust how you use them. Even a simple mistake with tools can cause delays and frustration. Learning from these moments is part of the journey. Make notes on what worked and what didn’t. This habit can improve future installations and save time.
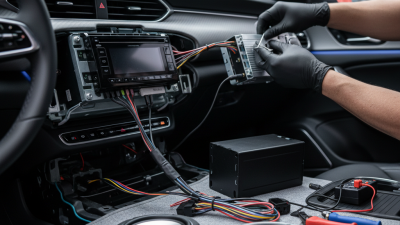
Step-by-Step Guide to Wiring and Connections
Wiring and connections are crucial in car electronics installation. Many DIY enthusiasts make mistakes during this process. A study by the Consumer Electronics Association found that nearly 30% of car owners experience issues due to poor wiring practices. Proper connections ensure the longevity and efficiency of electronic devices.
When wiring, always use the correct gauge of wire. Using wires that are too thin can lead to overheating. This may risk your car's safety. Additionally, securing connections with solder or quality connectors improves reliability. Avoid using tape alone, as it can wear out over time, leaving your connection exposed.
Another common error is neglecting to double-check polarity. Reversing positive and negative connections can damage your electronics. It’s advisable to spend time verifying connections before finalizing your installation. A visual inspection can reveal potential issues. This extra step can save you from repeated troubleshooting later.
Top 10 Car Electronics Installation Tips
Testing and Troubleshooting After Installation
After installing car electronics, testing and troubleshooting are vital steps. It's easy to overlook small details during installation. For instance, ensure that all connections are secure. Loose wires can lead to inconsistent performance. Imagine trying to enjoy music, only to find the sound cuts in and out. Checking the wiring is a simple yet crucial task.
Next, power up the system. Listen closely to the audio quality. Is there any distortion? A subpar installation might cause feedback issues. Don’t hesitate to revisit your setup if something seems off. Sometimes, it's the smallest adjustments that make the biggest difference.
Test all components thoroughly. Turn on your headlights, wipers, and other accessories to see how they interact. A poorly executed installation can result in unexpected failures. Document any issues for future reference. Taking notes helps track what works and what doesn’t. This reflection is essential for a more professional finish.
Top 10 Car Electronics Installation Tips for a Professional Setup - Testing and Troubleshooting After Installation
| Tip Number |
Installation Tip |
Description |
Troubleshooting |
| 1 |
Read the Manual |
Understanding the product specifications and installation process. |
Check if all instructions are followed; refer to manuals for solutions. |
| 2 |
Use Proper Tools |
Utilize necessary tools for efficient installation. |
Inconsistent results may occur if incorrect tools are used; recheck tools. |
| 3 |
Check Compatibility |
Ensure the component is compatible with your vehicle. |
Verify connections if issues arise post-installation. |
| 4 |
Secure Connections |
Ensure all wires and connectors are tightly secured. |
Loose connections can cause malfunction; revisit tightness. |
| 5 |
Test Before Finalizing |
Test functionality before permanently securing components. |
Address any issues now rather than later; retest after fixes. |
| 6 |
Organize Cables |
Keep wiring neat to avoid interference. |
Reorganize if there are performance issues; check for shorts. |
| 7 |
Ensure Power Supply |
Confirm the power source is adequate for the system. |
If it fails to power on, check fuses and connections first. |
| 8 |
Eliminate Ground Loops |
Make sure grounding is done correctly to avoid noise problems. |
Check for buzzing or humming noises; adjust grounding as needed. |
| 9 |
Calibrate Settings |
Fine-tune system settings for optimal performance. |
If sound quality is lacking, revisit calibration options. |
| 10 |
Seek Professional Help |
Don't hesitate to consult experts if needed. |
If issues persist after installation, professional troubleshooting may be required. |