Top 10 Essential Tips for Car Installation That Every DIY Enthusiast Should Know
When it comes to car installation, whether you're swapping out an old stereo or tackling a complete interior overhaul, a well-executed project can enhance your vehicle's functionality and personal style. For DIY enthusiasts, the world of car installation offers a unique opportunity to save money and gain hands-on experience. However, without the right knowledge and tools, even simple tasks can turn into frustrating challenges. That's why understanding the essential tips for car installation is crucial for any aspiring mechanic or hobbyist.
In this guide, we will delve into the top 10 essential tips that every DIY enthusiast should know before embarking on their car installation projects. From choosing the right tools and materials to ensuring safety standards are met, these tips will pave the way for successful installations. Additionally, we'll discuss the importance of planning ahead and how to approach each step methodically to avoid common pitfalls. Whether you're a seasoned pro or a novice looking to enhance your skill set, these insights will help you navigate the complexities of car installation with confidence and ease.
Understanding Your Vehicle's Wiring System for Car Installations
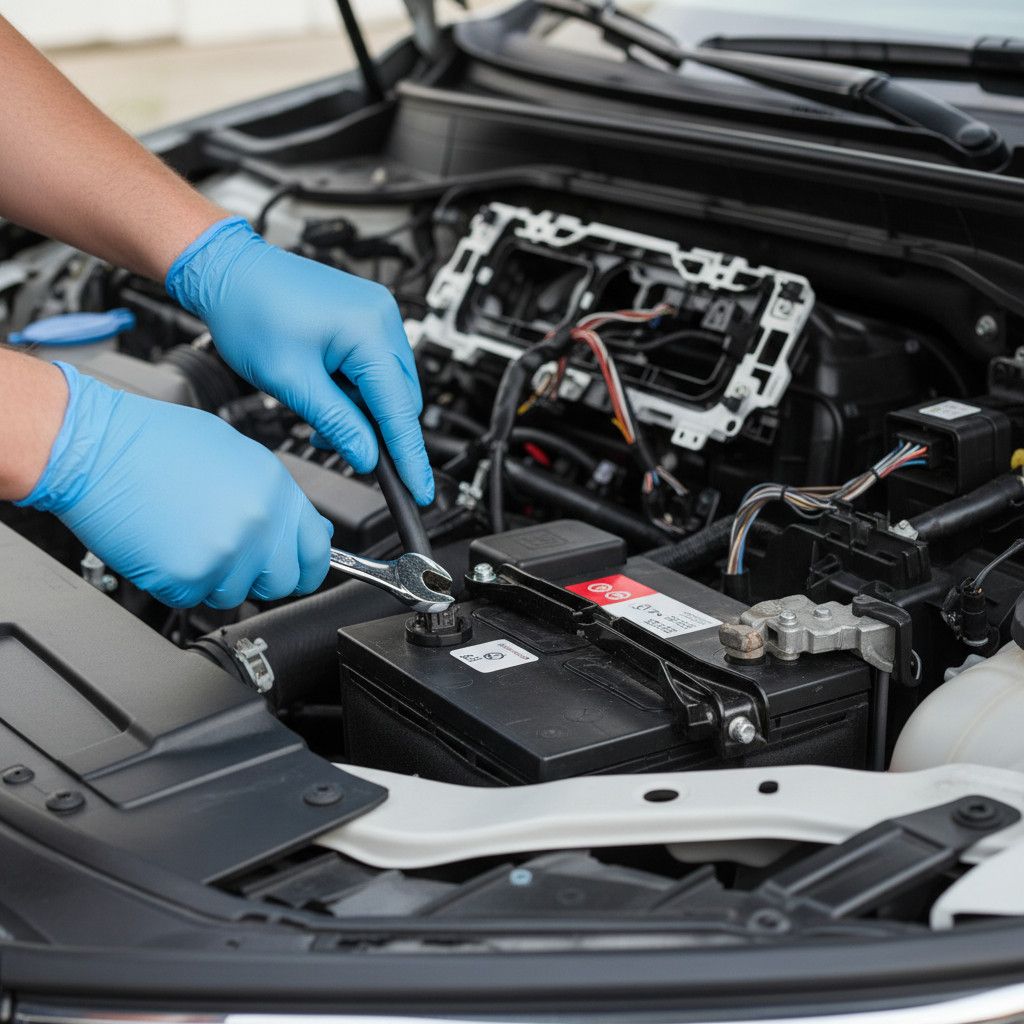
Understanding your vehicle's wiring system is crucial for any DIY enthusiast looking to tackle car installations. A solid grasp of wiring layouts not only aids in avoiding costly mistakes but also streamlines the process of adding aftermarket products. According to a report by the Consumer Electronics Association, nearly 70% of car owners wish to personalize their vehicles with tech upgrades, emphasizing the need for knowledge in wiring systems.
When working with the vehicle's wiring, it is essential to recognize the different types of wires and their functions. For example, power wires typically carry current to specific devices, while ground wires complete the circuit. One top tip is to always consult your vehicle’s service manual, which provides specific wiring diagrams that can prevent confusion and misconnection. Additionally, using a multimeter to test wires can help identify live circuits, ensuring that installations can proceed safely.
Another important consideration is the quality of the materials used. Utilizing proper gauge wiring and well-insulated connectors ensures that installations are not just functional but also safe. According to the National Highway Traffic Safety Administration, improper wiring is responsible for 30% of electrical system failures leading to accidents. Therefore, taking the time to understand and respect your vehicle's wiring can significantly enhance both safety and performance during aftermarket installations.
Top 10 Essential Tips for Car Installation That Every DIY Enthusiast Should Know
| Tip Number |
Tip Description |
Importance Level |
Typical Tools Required |
| 1 |
Understand the vehicle's wiring diagram before starting. |
High |
Multimeter, wiring diagrams |
| 2 |
Always disconnect the battery before installation. |
Critical |
Wrench, safety goggles |
| 3 |
Label wires during disassembly to avoid confusion. |
Moderate |
Labels, marker |
| 4 |
Use heat-shrink tubing for wire connections. |
High |
Heat gun, wire connectors |
| 5 |
Secure all connections with electrical tape. |
Moderate |
Electrical tape |
| 6 |
Check for any ground issues before installation. |
High |
Multimeter, grounding tools |
| 7 |
Test all electrical components after installation. |
Critical |
Multimeter, tester |
| 8 |
Use a fuse to protect electrical circuits. |
High |
Fuses, fuse holders |
| 9 |
Avoid overloading circuits with high consumption devices. |
High |
Amperage meter, documentation |
| 10 |
Consult professional help when in doubt. |
Critical |
N/A |
Choosing the Right Tools and Materials for DIY Car Projects
When embarking on DIY car projects, selecting the right tools and materials is paramount to achieving successful and safe results. Beginners might feel overwhelmed by the vast array of options available, but understanding the essentials can pave the way to a smoother process. Start by investing in high-quality basic tools like wrenches, pliers, and screwdrivers, which are fundamental for most car repairs and installations. Additionally, specialized tools such as torque wrenches or diagnostic equipment can be valuable for more complex projects, ensuring that every task is performed to precision.
Equally important is choosing the appropriate materials that match your vehicle’s specifications. Whether you are replacing parts or enhancing performance, using OEM (original equipment manufacturer) components or reputable aftermarket alternatives can significantly affect durability and functionality. Don’t overlook the value of quality maintenance supplies like lubricants, sealants, and adhesives, as they can enhance the longevity of your repairs. With the global DIY market projected to reach $1.3 trillion by 2033, it’s evident that investing in the right tools and materials not only boosts individual projects but also contributes to a thriving community of DIY enthusiasts.
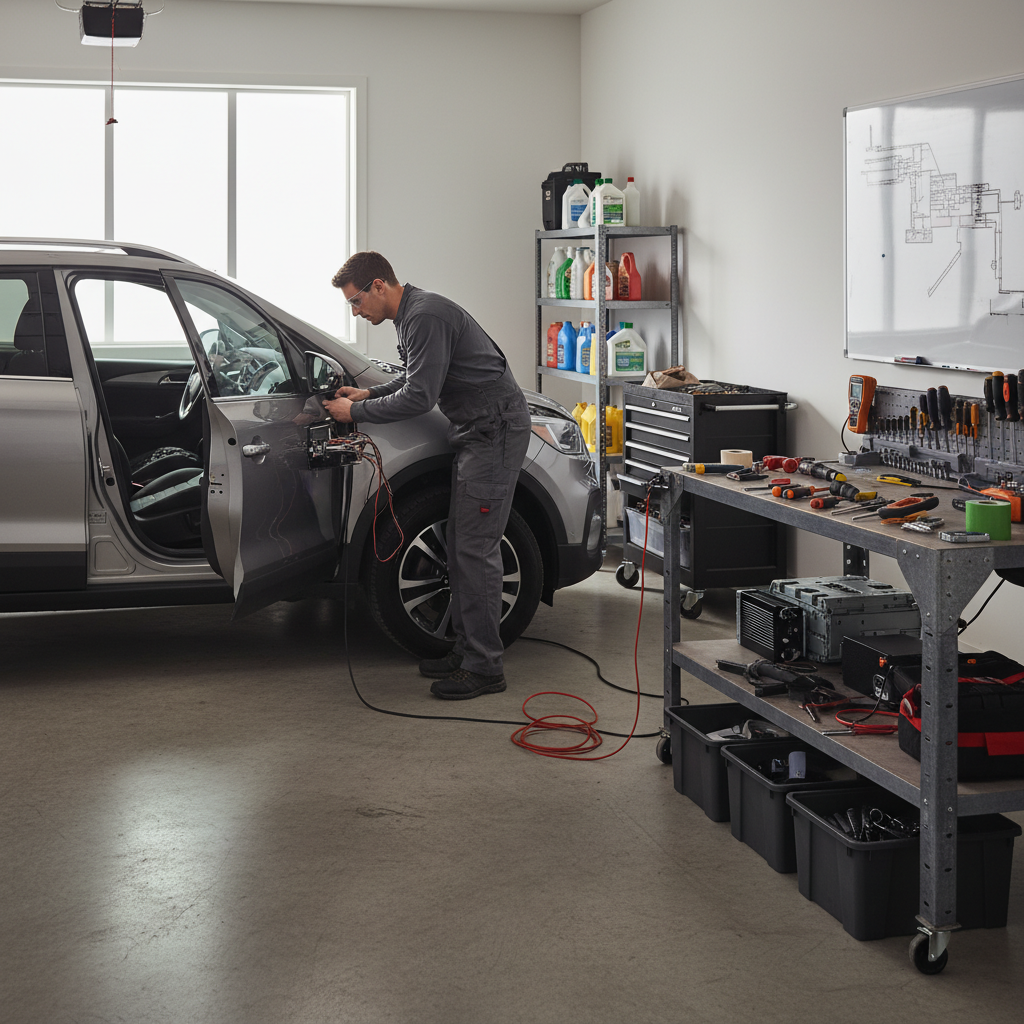
Step-by-Step Guide to Removing and Replacing Car Audio Systems
When it comes to upgrading your car's audio system, understanding how to properly remove and replace components is essential for a successful installation. Start by gathering your tools, including a screwdriver set, wire strippers, and a trim removal tool. First, ensure your vehicle is safely parked and the battery is disconnected to avoid any electrical short circuits during the process. Carefully remove the trim panels surrounding the audio unit, being cautious not to damage any clips or wires in the way.
Next, unscrew the existing head unit and gently pull it out, disconnecting the wiring harness and antenna. Take note of how the wires are arranged as you’ll need to replicate this during installation. After that, you can install the new audio system by connecting the wiring harness and antenna in the reversed order from removal. Secure the new unit in place, replace the trim panels, and finally, reconnect the battery. Perform a test of the audio system before locking everything back in place to ensure everything is functioning correctly. This straightforward process empowers DIY enthusiasts to enhance their driving experience with improved sound quality.
Top 10 Essential Tips for Car Installation
Avoiding Common Mistakes in Dashboard and Component Installation
When embarking on a car installation project, avoiding common mistakes is crucial for achieving a professional finish and ensuring the longevity of your work. One significant area to focus on is the dashboard installation. Many DIY enthusiasts rush through the process, often failing to properly disconnect the battery first. Not only can this lead to electrical issues, but it also poses safety risks. Always ensure that you take a moment to disconnect power sources and remove any necessary components with care.
Another frequent pitfall lies in the misalignment of dashboard components. It’s essential to take your time during installation, ensuring that every part is fitted precisely. Over-tightening screws can warp the dashboard, while under-tightening can lead to rattling. Utilize a torque wrench for accuracy, and don’t hesitate to refer back to the vehicle’s manual as needed. Proper organization of screws and small parts can also prevent confusion later, making the overall process smoother and more efficient. Remember, patience and careful attention to detail during installation can save you from costly rework down the line.
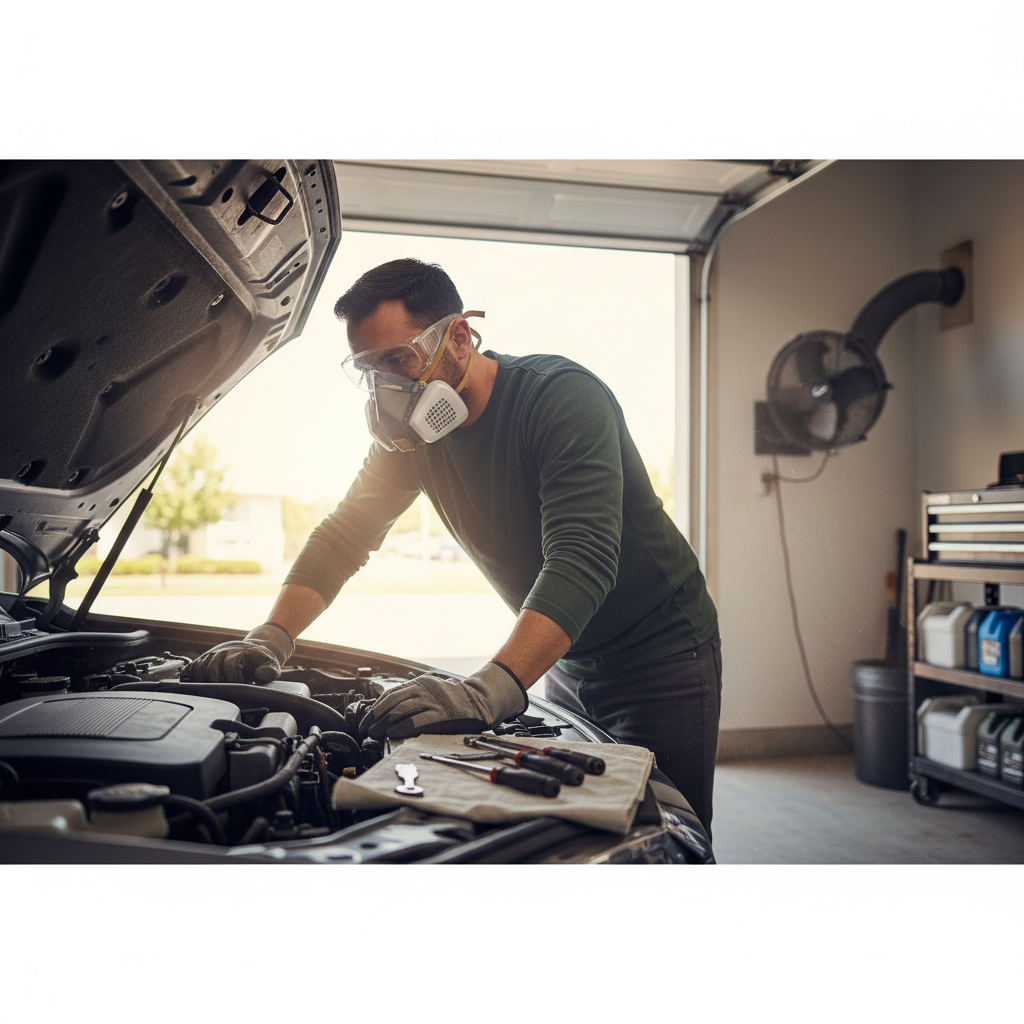
Safety Precautions to Consider During DIY Car Installations
When embarking on any DIY car installation project, prioritizing safety cannot be overstated. Before getting started, it’s crucial to equip yourself with appropriate personal protective equipment (PPE). This includes safety goggles to protect your eyes from debris, gloves to prevent cuts and scrapes, and a mask to shield against dust and fumes, particularly when working with materials that may release harmful particles. Ensuring your workspace is well-ventilated also plays a key role in maintaining a safe environment, as many substances utilized in car repairs can emit harmful vapors.
Moreover, understanding the specific requirements of your vehicle is paramount for a successful installation. It is advisable to consult the owner's manual for safety information relevant to your car model, including weight limits and torque specifications. Additionally, working on a stable surface is essential; using jack stands instead of relying solely on a hydraulic jack can prevent accidents. Finally, don’t hesitate to have a friend nearby during the process. Having an extra set of hands can be invaluable for lifting heavy components or providing assistance in case any unexpected issues arise, enhancing both safety and efficiency in your DIY endeavors.