How to Install a Car Stereo Step by Step Guide for Beginners
In the world of car audio, the process of car stereo installation can often seem daunting to beginners. However, with the right guidance, anyone can enhance their driving experience by upgrading their car's sound system. Renowned automotive expert, Mark Johnson, emphasizes the importance of this task: "A quality car stereo installation not only improves sound but also elevates the overall driving experience." This highlights that proper installation is crucial for achieving the best possible audio quality.
When tackling car stereo installation, it's essential to understand the components involved and the steps required for a successful installation. It not only involves removing the old stereo but also understanding the wiring and connections needed for the new unit. With a solid step-by-step guide, even those with minimal technical knowledge can navigate the process confidently and efficiently. Through this guide, we aim to demystify car stereo installation, empowering beginners to transform their vehicles into a personal haven of sound. By following expert advice and the outlined steps, you'll be well on your way to enjoying the rich audio experience your newly installed car stereo has to offer.
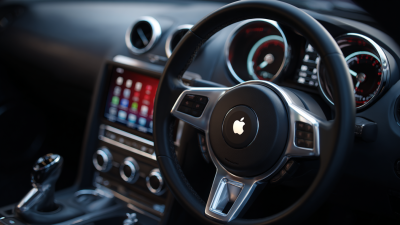
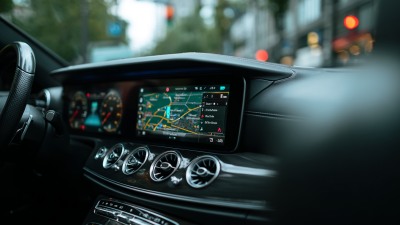
Choosing the Right Car Stereo for Your Vehicle Needs
When choosing the right car stereo for your vehicle, it's essential to consider both your car's specifications and your personal listening preferences. Start by assessing the size and features of your existing stereo system. This will help you determine whether you need a single-DIN or double-DIN stereo. Additionally, take into account the compatibility of the stereo with your vehicle's present wiring and connectors, as well as the potential need for additional adapters.
Next, consider the functionalities that are most important to you. Are you looking for Bluetooth connectivity for hands-free calling and music streaming, or do you prioritize integrated GPS navigation? If you often enjoy high-quality sound, seeking out stereos with advanced equalizers and high power outputs will be beneficial. Remember to read reviews and possibly test different models to ensure that the stereo not only fits your car but also delivers the audio quality you desire.
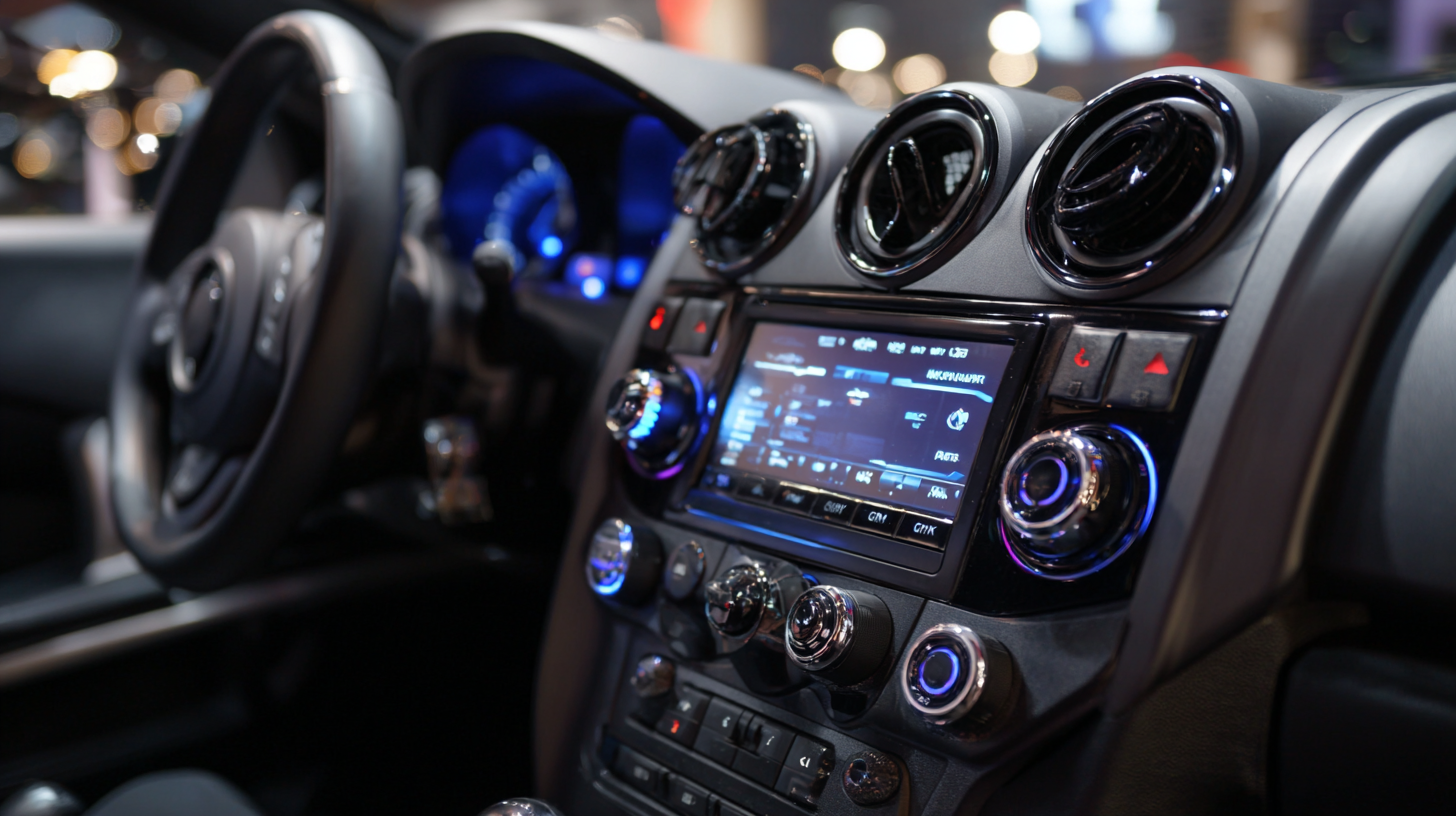
Essential Tools Required for Car Stereo Installation
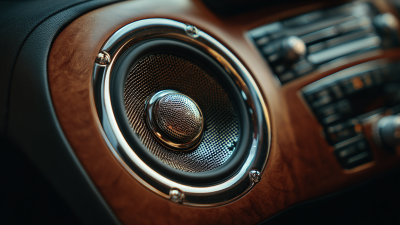
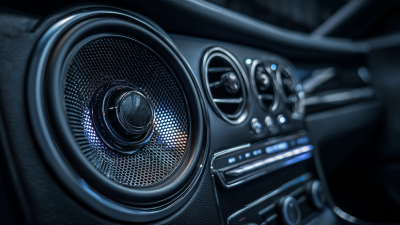
Installing a car stereo can seem daunting, but with the right tools and preparation, it can be a straightforward task. Before you start, make sure you have the essential tools for a successful installation. You'll need a screwdriver set, wiring harness adapter, and a panel removal tool. Additionally, having a multimeter on hand can help you check electrical connections and ensure everything is functioning correctly.
Tips: Always wear safety glasses when working with tools to protect your eyes. When removing the car's dashboard panels, use a panel removal tool to avoid damaging the surfaces, as using a metal tool can scratch or break the plastic components.
Another useful item to have is electrical tape, which will help secure any exposed wires after you've made connections. If your stereo comes with a mounting bracket, ensure you select the right one compatible with your vehicle model. Additionally, reviewing the stereo's user manual will often provide specific guidance on connections unique to your device, paving the way for a smoother installation process.
Step-by-Step Removal of the Old Car Stereo
When preparing to install a new car stereo, the first crucial step involves the careful removal of the old unit. Start by gathering the necessary tools, including a flathead screwdriver, Phillips screwdriver, and a wiring harness adapter. Begin by disconnecting the negative battery terminal to ensure safety and prevent any electrical shorts during the process.
Next, remove any trim or dashboard components surrounding the stereo. This may involve unscrewing screws or using a trim removal tool to gently pry off panels without damaging them. Once the trim is out of the way, locate the screws securing the old stereo in place. Carefully unscrew these and slide the unit out of its mounting bracket. While pulling it out, be cautious of the attached wiring harness and antenna cable; gently disconnect them to free the stereo completely.
After successfully removing the old stereo, assess the wiring connections and prepare for the new installation. This preliminary step not only clears the way for your new car stereo but also ensures a smooth transition into the next phase of the installation process.
How to Install a Car Stereo Step by Step Guide for Beginners
| Step |
Description |
Tools Needed |
Estimated Time |
| 1 |
Disconnect the battery to ensure safety. |
Wrench or socket set |
5 minutes |
| 2 |
Remove the trim panel around the stereo. |
Plastic trim removal tool |
10 minutes |
| 3 |
Unscrew the old stereo from the dashboard. |
Screwdriver |
5 minutes |
| 4 |
Disconnect the wiring harness and antenna cable. |
None |
5 minutes |
| 5 |
Connect the new stereo's wiring harness. |
Wire connectors |
10 minutes |
| 6 |
Secure the new stereo in place with screws. |
Screwdriver |
5 minutes |
| 7 |
Reattach the trim panel. |
Plastic trim removal tool |
5 minutes |
| 8 |
Reconnect the battery and test the new stereo. |
Wrench or socket set |
5 minutes |
Wiring and Connecting the New Car Stereo Properly
Installing a car stereo can seem daunting, especially when it comes to wiring and connecting the new unit properly. First, ensure you have all the necessary tools and parts, including wiring harness adapters specific to your vehicle model. Start by disconnecting the car battery to avoid any electrical shocks while you work. Remove the old stereo carefully, noting how the original wires are connected. This will serve as a reference when you install the new stereo.
Next, connect the wiring harness adapter to the car's wiring. It’s essential to match the color-coded wires correctly: usually, red is for power, black for ground, and the other colors for speakers. If your new stereo comes with an additional wiring diagram, use it to tie in any extra features like power antennas or amplifiers. After connecting the wires, securely attach the new stereo into the dash and reconnect the car battery. Test the system to ensure everything is functioning correctly before sealing up the dashboard. This attention to detail will ensure a successful installation, allowing you to enjoy your new audio system with zero hiccups.
Car Stereo Installation Steps and Completion Time
Testing and Finalizing the Installation for Optimal Performance
After completing the installation of your car stereo, it’s crucial to perform thorough testing to ensure everything is functioning correctly. Start by turning on the ignition and powering up the stereo. Check each speaker individually by playing a variety of audio sources, including FM radio, CDs, and Bluetooth-connected devices. Pay close attention to the clarity of the sound and whether any speakers are producing distortion or not functioning at all. It’s also wise to adjust the balance and fade settings to verify that all speakers are equally responsive.

Once initial tests are complete, fine-tune the stereo settings for optimal performance. Adjust the equalizer to enhance sound quality based on your personal preferences and the acoustic characteristics of your car. Positioning the stereo’s settings correctly can dramatically improve your listening experience. Additionally, securing all wires and ensuring that there are no loose connections is vital for long-term reliability. After final adjustments, consider taking a short drive to evaluate the stereo’s performance while in motion, as road noise can significantly affect sound quality.