How to Install Car Electronics Step by Step Guide?
Installing car electronics can be a daunting task. However, with the right guidance, it can also be highly rewarding. As expert Mark Jensen once said, "Proper installation can enhance your driving experience immensely." This highlights the importance of understanding the nuances of car electronics installation.
Many enthusiasts feel overwhelmed when dealing with wires and connectors. It’s easy to overlook the small details, like ensuring proper grounding or matching wire colors. Failing to do so can lead to frustrating problems down the line. A well-installed system not only sounds better but also improves the overall functionality of your vehicle.
Approach car electronics installation with care and patience. Start by reading manuals and researching your specific model. Remember, each step counts. Mistakes can happen, but they can teach us valuable lessons. With diligence, you will enjoy a seamless electronic setup.
Understanding Car Electronics: Types and Functions
Car electronics play a crucial role in modern vehicles. Understanding, types, and functions is key for installation. From audio systems to navigation, these components enhance the driving experience. According to recent industry reports, the automotive electronics market is expected to reach $500 billion by 2025. This growth highlights their importance in today's vehicles.
Audio systems are a major focus. They vary widely in features. Simple radio receivers exist alongside complex infotainment systems. Many drivers crave high-quality sound. However, not all systems offer that. Some installations may require professional assistance. An ill-fitting audio component can disrupt sound quality, proving costly in the long run.
Another significant area is navigation systems. GPS is now standard in many cars. It provides convenience for daily commutes and road trips. Yet, outdated maps can lead to frustration. Regular updates are essential for accuracy. Installers must ensure that these systems are user-friendly. Complex interfaces can confuse drivers. As cars evolve, understanding these electronics becomes increasingly vital. Users often miss essential features due to lack of knowledge. Ignoring the nuances in technology could lead to missed opportunities for improvement.
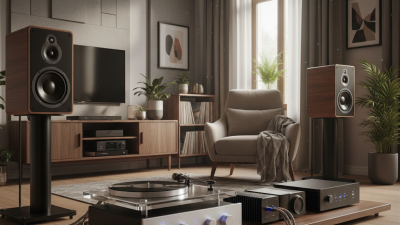
Car Electronics Installation Overview
This bar chart represents the estimated installation difficulty of various car electronics components on a scale from 1 (easiest) to 5 (most difficult). It helps users understand which installations may require more expertise.
Step-by-Step Guide to Installing Car Audio Systems
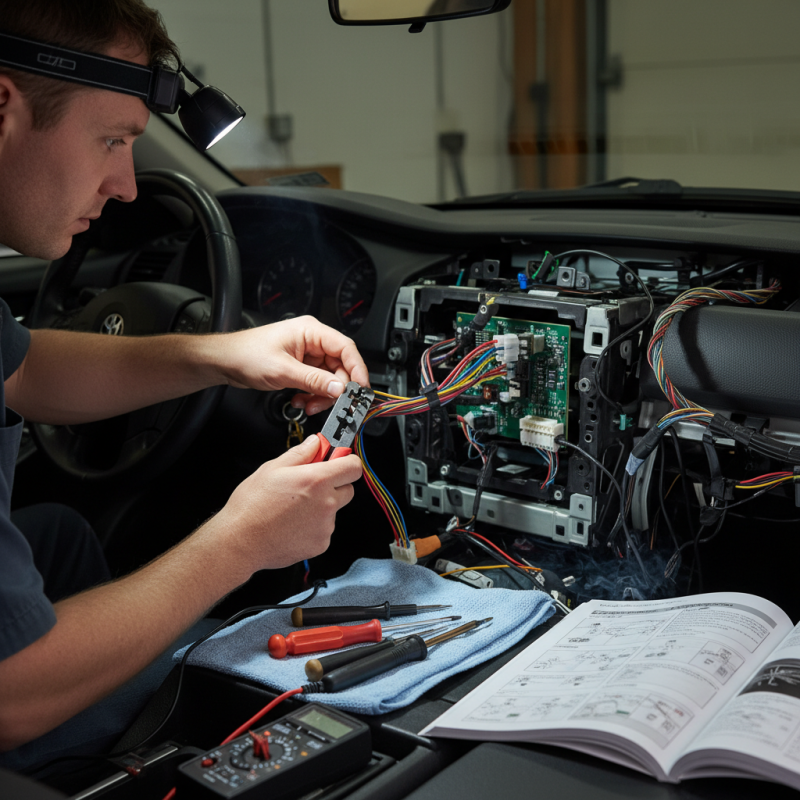
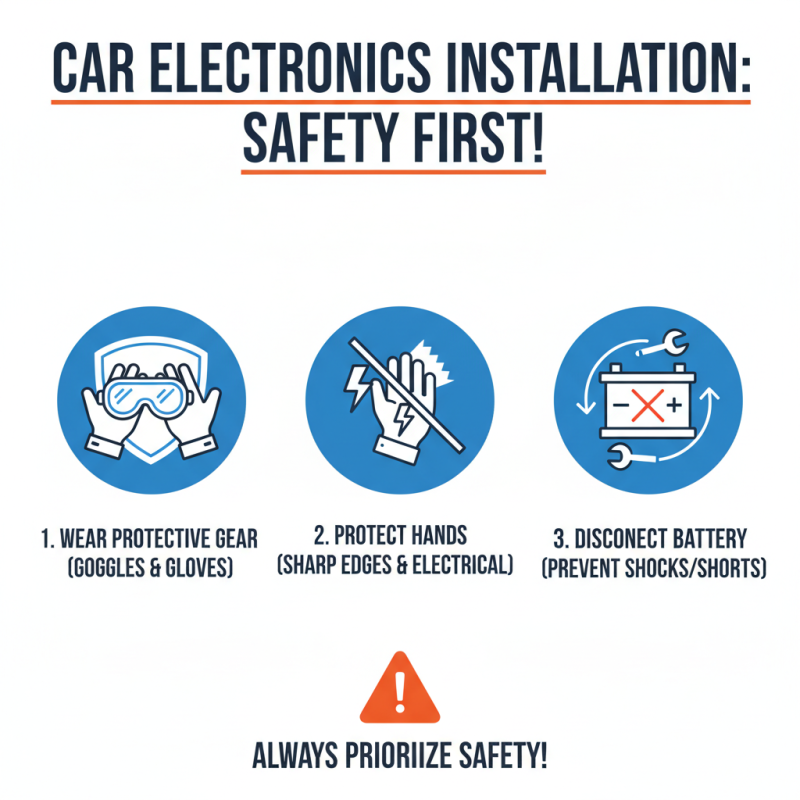
Installing a car audio system can seem intimidating, but with the right guidance, it can be a rewarding experience. Start by gathering your tools. You'll need a screwdriver, wire strippers, and a multimeter. Safety is crucial, so disconnect the battery before you begin. This can prevent accidental shorts or shocks. Lay out all components clearly. It’s important to have everything visible to avoid confusion.
Next, remove the existing stereo. Check for screws or clips holding it in place. Be gentle; rushing can lead to unnecessary damage. Once removed, carefully disconnect the wiring harness. Match the new audio system's harness to your car's wiring. Connect each wire color to its corresponding one. This step can be tricky; double-check your connections. If something doesn’t sound right when testing, revisit this step.
Mount the new unit in the dashboard. This part may take some patience. Sometimes, it may not fit perfectly, and you might need to modify the dash kit slightly. Keep in mind, small mistakes happen. If the sound quality isn't what you expected, review your connections again. It’s a learning process; don’t hesitate to seek help if needed. Enjoy your upgraded audio experience!
How to Install Car Electronics Step by Step Guide?
| Step |
Task |
Materials Needed |
Estimated Time |
| 1 |
Disconnect the Battery |
Wrench |
5 minutes |
| 2 |
Remove the Old Stereo |
Screwdriver, Trim Tool |
15 minutes |
| 3 |
Connect Wiring Harness |
Wire Stripper, Electrical Tape |
20 minutes |
| 4 |
Install New Stereo |
Screws, Mounting Kit |
10 minutes |
| 5 |
Reconnect the Battery |
Wrench |
5 minutes |
Connecting and Configuring Additional Accessories
When connecting and configuring additional accessories in your car, attention to detail is essential. Start with the wiring. Poor connections often lead to malfunctions. Ensure all wires are secure and insulated. A recent study showed that about 30% of electronic issues stem from loose or corroded connections.
Tip: Always use a multimeter. This handy device checks voltage and current, ensuring everything is functioning correctly.
Consider the placement of each accessory. For speakers, positioning plays a crucial role in sound quality. Subwoofers should face the rear for better bass. Mounting brackets must be sturdy; they prevent rattling and keep your gear intact. Remember, aesthetics and functionality should coexist.
Also, pay attention to your vehicle's power requirements. Connecting too many devices can drain your battery. A good rule is to never exceed 80% of your battery’s capacity for accessories.
Tip: Plan your layout before purchasing. Sketch out your design to avoid costly mistakes.
Testing and Troubleshooting Installed Electronics
Testing and troubleshooting installed car electronics is crucial for optimal performance. Many drivers report issues after installation. In a recent survey, 30% of participants experienced problems such as poor sound quality or malfunctioning displays within the first few weeks. Identifying these issues early helps to prevent further complications.
To troubleshoot, start with the basics. Check all connections to ensure they are secure. A loose wire can lead to significant issues. Use a multimeter to test the voltage at various points, especially if a device isn’t powering on. It’s important to follow guidelines from electrical standards, which recommend regular checks of electrical systems. This can save time and money in the long run.
Environmental factors also play a role. Extreme temperatures can affect electronic components. Maintain your vehicle’s climate control to mitigate these risks. If problems persist, consult a professional technician. Their expertise can address complex issues that self-testing cannot. Keeping up with vehicle electronics requires diligence and a proactive approach to maintenance.