How to Successfully Install Car Electronics: A Step-by-Step Guide
The rapid evolution of car electronics has revolutionized the way we interact with our vehicles, enhancing safety, comfort, and connectivity. According to a recent market research report by Allied Market Research, the global car electronics market is projected to reach $517.37 billion by 2025, growing at a compound annual growth rate (CAGR) of 9.56% from 2018 to 2025. This significant growth underscores the increasing demand for advanced features such as infotainment systems, navigation aids, and driver assistance technologies, making car electronics installation a valuable skill for enthusiasts and professionals alike.
Installing car electronics requires not only technical knowledge but also a keen understanding of the vehicle’s electrical systems. A study by the Consumer Technology Association revealed that 40% of consumers intend to upgrade their vehicle's electronics within the next few years, highlighting a growing interest in personalizing and enhancing driving experiences. This guide will provide step-by-step instructions to facilitate a successful car electronics installation, empowering you to tackle upgrades confidently while ensuring optimal functionality and safety in your vehicle. Embracing this trend can lead to a more satisfying and modern driving experience, setting the stage for a new era of automotive innovation.
Understanding Car Electronics: Types and Functions
When delving into the world of car electronics, it's essential to understand the various types and functions that can enhance your driving experience. Car electronics encompass a wide array of components, including audio systems, navigation devices, and advanced driver-assistance systems. Each of these elements plays a crucial role in elevating the functionality of your vehicle, whether by providing entertainment, improving safety, or facilitating smoother navigation on the road.
Audio systems not only provide music and entertainment but also include features such as Bluetooth connectivity, hands-free calling, and even voice recognition. These capabilities allow drivers to stay focused on the road while enjoying their favorite tunes or conducting important conversations.
On the other hand, navigation devices have evolved significantly, offering real-time traffic updates, route optimization, and even integration with mobile apps. This technology ensures that drivers can reach their destinations efficiently, avoiding delays and enhancing overall travel experience.
Additionally, modern car electronics include sophisticated driver-assistance systems like parking sensors, adaptive cruise control, and lane-keeping assist. These systems utilize various sensors and cameras to monitor the vehicle's surroundings, providing drivers with alerts or even taking corrective actions to enhance safety.
By understanding the types and functions of these car electronics, you can make informed decisions about the installations that best suit your needs, ultimately transforming your vehicle into a more enjoyable and safer place to be.
Essential Tools and Materials for Installation
When setting out to install car electronics, having the right tools and materials is crucial for a successful and efficient process. Start with basic hand tools that are essential for any installation project. A set of screwdrivers, including both flathead and Phillips, will allow you to tackle a variety of screws commonly found in vehicle interiors. Pliers and wire strippers are also necessary for handling and preparing electrical connections. Don’t forget a good set of wrenches, which can help secure components but are often overlooked in small electronic projects.
In addition to hand tools, you'll need specific installation materials. Quality electrical tape is important for insulation and securing wire connections to prevent shorts. Connectors, such as crimp connectors and butt connectors, will ensure strong and reliable electrical connections. Wiring harnesses, which simplify the installation process by providing pre-terminated connections, can save time and reduce the potential for errors. Finally, a multimeter is an invaluable tool for troubleshooting and verifying electrical installations, ensuring everything is working correctly and safely. Having these tools and materials on hand will undoubtedly set a solid foundation for a successful installation of car electronics.
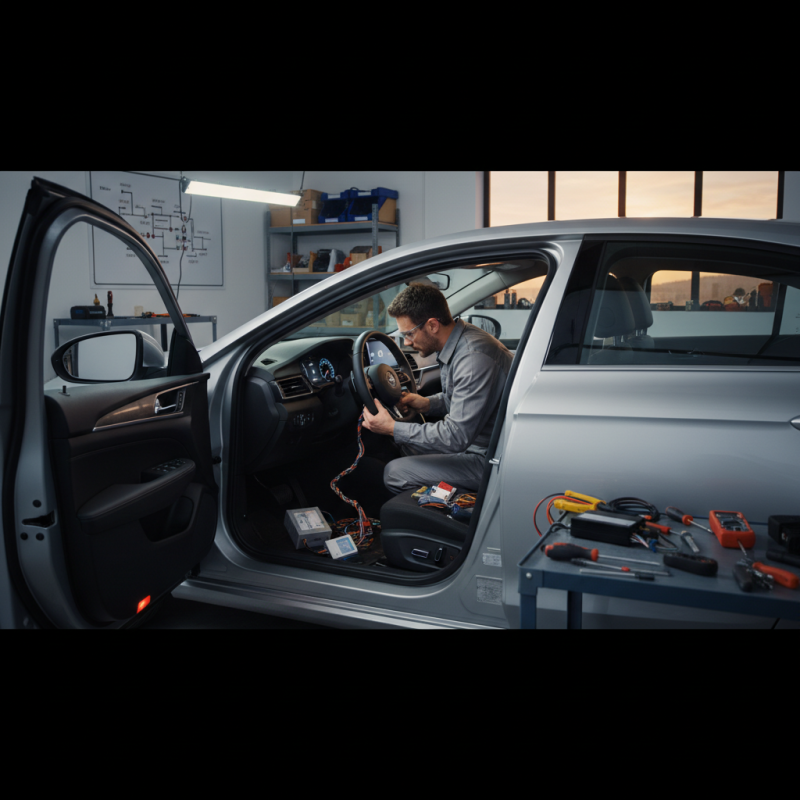
Step-by-Step Guide to Wiring Car Electronics
When wiring car electronics, a meticulous approach is essential for a successful installation. Start by gathering all necessary tools and materials, including wire strippers, connectors, and electrical tape. It’s crucial to disconnect the car battery before you begin to avoid any electrical mishaps. Familiarize yourself with the wiring diagrams specific to your vehicle and the electronic device, as these will guide you through the proper connections.
As you proceed, clearly mark each wire and its corresponding connection point. This practice not only avoids confusion but also simplifies future repairs or upgrades. Always double-check your connections before securing them, ensuring that there are no exposed wires that could cause short circuits.
**Tips:** When working with automotive wiring, consider using heat-shrink tubing for added protection against moisture and wear. Additionally, working in a well-lit area will help you see finer details more clearly, preventing mistakes that could lead to faulty installations. Finally, don't hesitate to consult online forums or communities where you can share experiences and gain insights from others who have successfully performed similar tasks.
How to Successfully Install Car Electronics: A Step-by-Step Guide
| Step |
Task |
Tools Needed |
Estimated Time |
| 1 |
Gather all components |
Screwdriver, Wiring Kit |
15 minutes |
| 2 |
Disconnect the battery |
Wrench |
10 minutes |
| 3 |
Route the wiring |
Cable Ties, Electrical Tape |
30 minutes |
| 4 |
Connect the electronics |
Wire Strippers, Connectors |
20 minutes |
| 5 |
Test the installation |
Multimeter |
15 minutes |
| 6 |
Reattach the battery |
Wrench |
10 minutes |
Mounting and Securing Components Properly
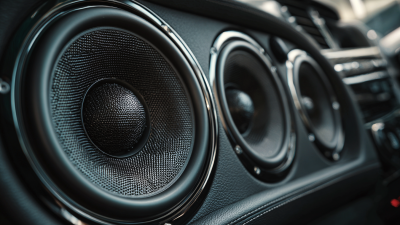
When it comes to installing car electronics, mounting and securing components properly is crucial for both functionality and safety. Begin by selecting appropriate locations for your components, such as the stereo, amplifier, or speakers. Ensure that these locations are free from obstructions and do not interfere with the driver’s view or operation of the vehicle. Utilize brackets or mounting kits that fit your specific vehicle model for a secure fit. Double-check the alignment of the components to ensure they are straight and level, which not only enhances aesthetics but also helps with performance.
Once you have determined the correct positioning, it’s time to secure the components firmly. Use screws, bolts, or adhesive materials designed for automotive use to attach your electronics. Be cautious not to overtighten screws, as this could damage both the component and the vehicle’s interior. For added security, consider using anti-vibration pads or damping materials to minimize movement during driving, which can help prolong the lifespan of the installed electronics. Always test the stability of the mounted components by gently shaking them to ensure they are firm and will not rattle loose while driving.
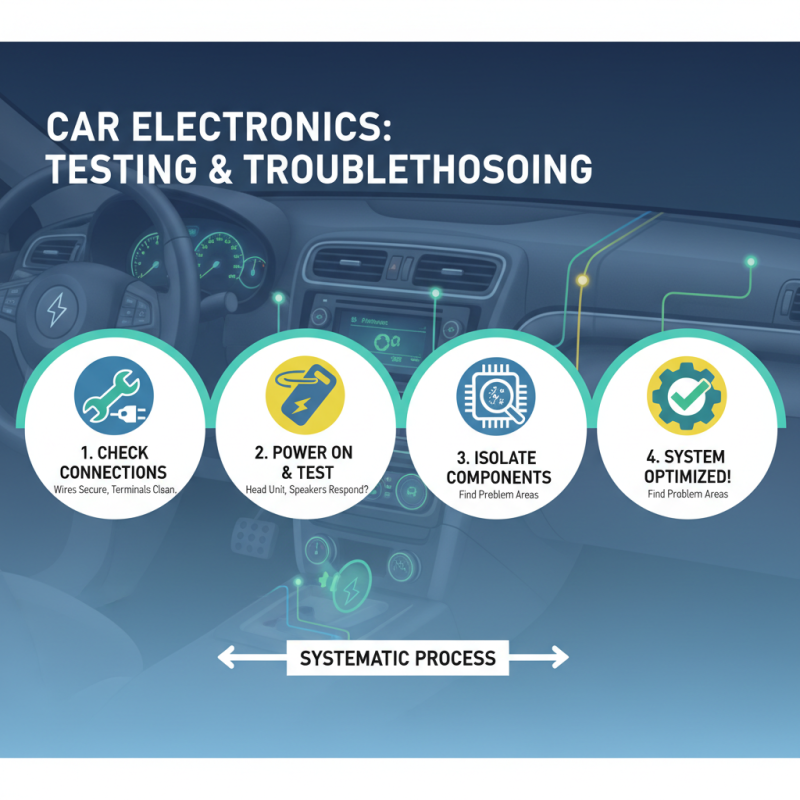
Testing and Troubleshooting Installed Systems
Testing and troubleshooting installed car electronics is a critical stage of the installation process that ensures your system functions as intended. After completing the installation, start by checking all connections: make sure that wires are properly secured and that all terminals are clean and free from corrosion. Turning on the vehicle's ignition should power the system, allowing you to gauge if the components respond correctly, from the head unit to the speakers. If you encounter issues, systematically isolate each component to identify any problematic areas.
If specific functionalities, such as Bluetooth connectivity or audio playback, do not work as expected, it may require further diagnostics. Begin by consulting the owner's manual for each device to understand its specific setup or troubleshooting steps. Additionally, using a multimeter can help check for voltage continuity across connections. If distortion or unexpected noises appear while playing audio, ensure that the speaker wiring is correct and that no wires are shorting out. Document any issues that arise and their solutions, as this knowledge can be beneficial for future reference and maintenance.