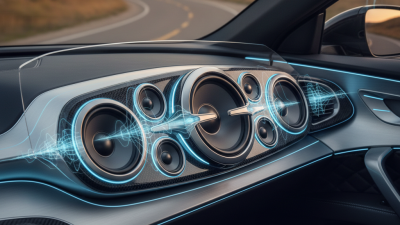
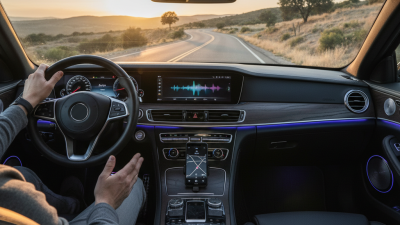
Why Choose Professional Car Speaker Installation?
Why Choose Professional Car Speaker Installation?
A better car audio system does not begin with expensive speakers. It begins with correct planning, careful fitting, and accurate tuning. Professional car speaker installation helps your equipment perform inside the vehicle’s difficult acoustic environment. Doors vibrate. Glass reflects sound. Seats absorb different frequencies. Even a small wiring mistake can create distortion, rattling, or uneven volume.
“Installation quality is the foundation of sound quality,” says Mark Eldridge, a veteran car-audio installer and system designer. His point is practical. A professional checks speaker polarity, mounting depth, impedance, and amplifier compatibility before making changes. They may add foam rings, sound-deadening material, or sealed adapters around the speaker basket. These details can make bass tighter and vocals clearer.
There is also a safety benefit. Factory panels often hide airbags, wiring harnesses, and sensitive electronics. An experienced technician removes trim carefully and protects each connection. The result should look nearly original. That matters.
Still, professional service is not automatically perfect. Some shops rush installations. Others recommend equipment that exceeds your needs. Ask for a written plan, clear warranty terms, and photos of similar work. Listen during the final test, not only in the showroom.
You may not hear every technical difference immediately. That is normal. Yet properly installed speakers usually deliver cleaner detail, stronger imaging, and fewer future problems. Professional car speaker installation is less about buying more equipment. It is about making the equipment work together, reliably, in your actual vehicle.
What Professional Car Speaker Installation Involves
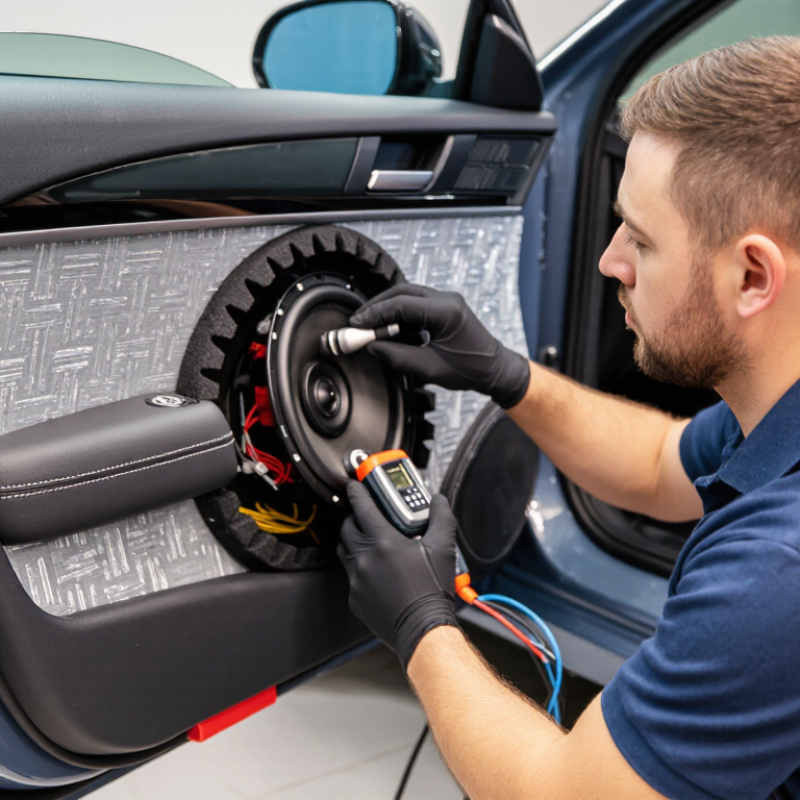
Professional car speaker installation involves much more than removing old speakers and fitting new ones. A qualified installer checks the vehicle’s wiring, speaker impedance, mounting depth, and available power. They also inspect the doors for moisture, loose panels, and unusual factory connectors. Small errors can create distortion, rattling, or weak bass.
The process usually includes secure mounting, correct polarity, protected wiring, and careful trim replacement. An experienced technician may add sound-deadening material around the speaker area. This helps reduce panel vibration and keeps sound focused inside the cabin. After installation, the system is tested from the driver’s seat and rear seats. Volume, balance, crossover settings, and equalization are adjusted gradually. Even skilled installers sometimes need to retune the system after real-world listening. That part is easy to underestimate.
Tips: Ask for a wiring check before installation. Confirm that the speaker fits the door depth. Listen for rattles with spoken audio and bass-heavy tracks. Keep the original fasteners when possible. They may prevent future panel damage. A written installation warranty also adds practical reassurance. Clear documentation matters, especially when electrical faults appear later.
How Experts Assess Your Vehicle’s Audio System
Professional installation begins with diagnosis, not a speaker box.
Experienced technicians first inspect the factory head unit, amplifier, wiring, and door locations. They check impedance, available power, signal paths, and built-in equalization. A replacement speaker can sound worse if the original system limits its frequency range. I have seen this happen in vehicles with impressive-looking speakers but weak factory amplification.
The 2024 J.D. Power U.S. Automotive Performance, Execution and Layout Study identifies infotainment as one of the vehicle areas causing frequent owner dissatisfaction. That finding matters because audio quality depends on more than speaker size. Experts also consider cabin noise, seating position, door resonance, and listening habits. A measurement microphone can reveal uneven response that casual listening misses. Small errors matter.
They may compare factory output at different volume levels, then test for distortion and clipping. According to the Audio Engineering Society, accurate sound reproduction requires controlled frequency response and low distortion. Professional assessment applies those principles inside a moving cabin. It also checks whether new components work safely with the vehicle’s electronics. The process is not always perfect. Road noise changes by speed, and personal taste can defeat a technically flat tune. That is why technicians should explain their measurements, invite listening feedback, and adjust the system carefully. Sometimes, less bass is the honest answer.
Choosing Speakers That Match Your Car and Listening Needs
Choosing speakers begins with the car, not the product box. Measure door depth, mounting diameter, grille clearance, and factory amplifier output before comparing specifications. A professional installer also checks polarity, wiring condition, and unusual speaker loads. A correct fit prevents rattles behind the door panel. That matters.
The 2024 Specialty Equipment Market Association report valued U.S. specialty-equipment sales at about 56 billion dollars in 2023. This indicates strong demand for vehicle upgrades, but popularity does not make every upgrade suitable. Edison Research’s 2024 Infinite Dial reported that 75% of Americans aged 12 and older listened to online audio during the past month. Therefore, source clarity, listening fatigue, and phone integration deserve attention alongside volume. Specifications alone cannot predict the result inside a moving cabin.
Match speaker sensitivity to available power. High-sensitivity designs often suit modest factory amplifiers. Match impedance carefully to the vehicle’s amplifier. Treat frequency-response figures as guidance, not promises. Podcasts usually benefit from clear midrange. Electronic music may need controlled bass and a balanced tweeter. In my installation experience, customers often choose the brightest showroom sound. After a week, some find it tiring. I still question quick demonstrations. Test familiar recordings inside the parked car, listening for harsh vocals, weak bass, and door vibration.
Why Choose Professional Car Speaker Installation? - Choosing Speakers That Match Your Car and Listening Needs
Typical specifications vary by vehicle and speaker design. Confirm mounting depth, connector type, and electrical compatibility before purchase.
| Speaker Configuration |
Common Nominal Size |
Typical Impedance |
Typical Sensitivity |
Typical RMS Power Range |
Best Listening Priority |
Professional Installation Considerations |
| Full-range coaxial |
3.5–4 inches |
Typically 4 ohms |
Approximately 86–91 dB |
20–50 watts RMS per speaker |
Clear speech, podcasts, and balanced everyday music |
Requires accurate dash or door-panel measurement and secure mounting to prevent vibration. |
| Full-range coaxial |
5.25 inches |
Typically 4 ohms |
Approximately 87–92 dB |
30–75 watts RMS per speaker |
A practical balance of vocals, instruments, and moderate bass |
A mounting adapter may be needed, and window clearance should be checked before final fitting. |
| Full-range coaxial |
6.5 inches |
Typically 4 ohms |
Approximately 88–93 dB |
40–100 watts RMS per speaker |
Stronger midbass and an energetic sound for varied music |
The installer must verify cutout diameter, mounting depth, grille clearance, and polarity. |
| Full-range coaxial |
6 × 8 inches |
Typically 4 ohms |
Approximately 87–92 dB |
35–90 watts RMS per speaker |
Factory-location replacement with improved clarity and midbass |
Vehicle-specific brackets or adapters may be required to maintain a tight, rattle-free fit. |
| Component speaker set |
Commonly 6.5-inch woofer plus separate tweeter |
Typically 4 ohms |
Approximately 86–92 dB |
50–120 watts RMS per channel |
Detailed vocals, precise imaging, and higher-quality music playback |
Requires crossover placement, tweeter positioning, wiring, and phase verification for a coherent soundstage. |
| High-efficiency replacement speaker |
Vehicle-dependent, commonly 5.25–6.5 inches |
Typically 2–4 ohms; verify system compatibility |
Approximately 90–95 dB |
25–75 watts RMS per speaker |
Higher volume from a factory-powered audio system |
A professional should confirm that the lower impedance will not overload the factory amplifier. |
| Rear-fill coaxial speaker |
5.25–6.5 inches |
Typically 4 ohms |
Approximately 87–92 dB |
30–80 watts RMS per speaker |
Even cabin coverage without pulling the main soundstage behind the listener |
Output balance and polarity should be checked so rear speakers complement rather than overpower the front pair. |
The Installation Process and Its Key Technical Steps
Why Choose Professional Car Speaker Installation?
Professional car speaker installation begins with inspection, not guesswork.
An installer checks the vehicle’s door depth, factory wiring, mounting points, and available amplifier power. This prevents a speaker from touching the window mechanism or vibrating against thin metal. Measurements matter. A careful technician also confirms speaker impedance and power handling before removing any panels.
The process continues with safe panel removal and controlled wiring. Technicians disconnect power where necessary and protect clips, trim, and airbag-related components. They verify polarity with test equipment, because reversed wiring can weaken bass and damage the listening balance. Foam rings, sealed adapters, and vibration-damping material can reduce rattles around the speaker. Every connection should be insulated, secured, and kept away from moving parts.
Sound testing comes after reassembly.
The installer checks vocals, bass response, distortion, and left-right balance from the driver’s seat. Small adjustments to crossover points or equalization can improve clarity without forcing excessive volume. The first tuning pass is rarely final. A minor rattle may appear only on a particular road surface, so practical testing remains important. Even skilled work can need refinement. A reliable installer documents the settings and explains what was changed, giving the owner a clear reference for future maintenance.
Benefits of Professional Installation Over DIY Methods
Why Choose Professional Car Speaker Installation?
Installing car speakers yourself can look simple: remove the door panel, connect two wires, and tighten the screws. In practice, vehicle doors contain fragile clips, airbags, window mechanisms, and uneven mounting spaces. A professional technician checks these details before cutting or drilling. That care reduces rattles, loose panels, and costly electrical mistakes.
Professional installation also improves sound quality, not just convenience. Technicians verify polarity, speaker impedance, wiring condition, and mounting depth. They may add a secure adapter ring or vibration-damping material around the speaker. This helps bass stay controlled instead of buzzing through the door. They can also adjust the soundstage after testing each speaker from the driver’s seat. Small changes matter.
DIY work can succeed. I have seen careful owners achieve excellent results with patience and accurate instructions. However, many underestimate trim removal and cable routing. One rushed connection can create intermittent sound that is difficult to diagnose later. Professionals are not perfect either; a careless installer can still miss a rattle or leave settings unbalanced. Ask for a wiring check, clear pricing, and a final listening test. Take photos of the original connections. Good documentation makes future repairs less uncertain.
Why Choose Professional Car Speaker Installation?
Professional installation can reduce installation time and ensure that essential electrical, polarity, impedance, wiring, and sound checks are completed correctly.
The comparison uses typical values from a standard 12-volt car-audio speaker installation workflow. Actual results vary by vehicle, speaker location, wiring access, and system complexity.