
How to Install a Mobile Audio System
Installing a mobile audio system can make everyday drives clearer, fuller, and more enjoyable. The work involves more than swapping a radio. You need to match the head unit, speakers, amplifier, and vehicle wiring. A careful mobile audio installation also protects factory features and avoids unwanted rattles, blown fuses, or damaged trim. Small details matter.
This guide outlines the process, from planning component locations to mounting equipment and checking each connection. Before buying parts, confirm the vehicle’s audio configuration and compare it with the equipment manuals. A wiring adapter may preserve factory connectors, while the correct mounting kit can prevent gaps around the dashboard. Keep tools organized. Label wires as you work. Disconnect the battery when the manufacturer’s instructions call for it, and use the specified fuse and wire gauge. Airbags and other vehicle systems may sit behind panels, so do not assume every space is safe to drill or pry.
Sound quality depends on thoughtful placement as much as expensive equipment. A loose speaker bracket can buzz against a door; a poorly routed cable can interfere with moving parts. Test the system at low volume before reinstalling every panel, then listen for distortion and vibration. It is tempting to rush this check. That is often where mistakes hide. Vehicle designs differ, and some installations are better handled by a qualified technician. With realistic expectations and careful checks, you can make informed choices and build a system that fits your car—and your listening habits.
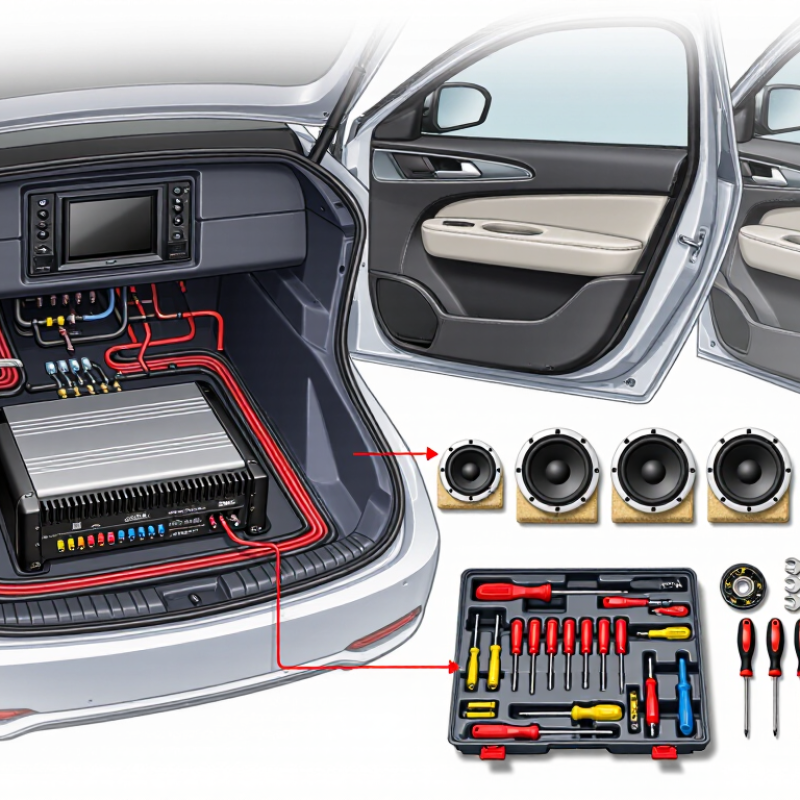
Assess the Vehicle and Plan the Audio System
Before selecting components, inspect the vehicle, not just its factory speakers. Note the dashboard opening, speaker sizes, door depth, available mounting points, and existing wiring. Measure twice. Check whether windows clear the speaker magnets and whether door panels hide side-impact airbags or moisture barriers. Photograph connectors and trim before removal; small details are easy to forget later.
Vehicle age can affect the plan. S&P Global Mobility reported that the average age of U.S. light vehicles reached 12.6 years in 2024. Older vehicles may have brittle clips, modified wiring, or nonstandard repairs, so verify each connection rather than relying on a diagram alone. List your listening priorities, such as clear vocals, stronger bass, or balanced sound at low volume. Then estimate amplifier space, power needs, and cable routes before buying equipment. Keep cables away from pedals, sharp metal edges, and moving window parts. A neat sketch helps, but it will not reveal every hidden obstruction. Be ready to revise it after removing one trim panel. That small pause can prevent a poor fit or a noisy rattle later.
| Assessment Area | What to Check | Example Finding | Planning Implication |
|---|---|---|---|
| Vehicle layout | Identify the body style, cabin layout, seating positions, and available mounting locations. | Five-seat sedan with factory speaker openings in the front and rear doors. | Map the speaker locations and confirm that new speakers fit without obstructing windows, locks, or door hardware. |
| Existing audio equipment | Record the factory receiver, speakers, amplifier, wiring, and any integrated vehicle functions. | Factory receiver controls the audio system and displays vehicle information. | Check compatibility before replacing the receiver; preserving steering-wheel controls or vehicle settings may require a compatible interface. |
| Speaker openings | Measure opening diameter, mounting depth, bolt pattern, and clearance behind each mounting point. | Front door openings measure approximately 165 mm across; usable depth must be measured with the window fully lowered. | Select speakers based on verified measurements and allow clearance for window movement, wiring, and protective grilles. |
| Electrical system | Check the vehicle battery voltage, charging-system condition, available power connections, and fuse locations. | Nominal 12 V system; battery and charging condition are checked before installation. | Estimate system power needs and use correctly sized power wire and fuses. Connect the main fuse close to the battery, following equipment and vehicle instructions. |
| Amplifier location | Look for a dry, ventilated mounting area with secure attachment points and room for service access. | Under-seat space is available, but clearance and airflow vary with seat position. | Confirm the amplifier remains clear of seat tracks, moving parts, moisture, and stored items before choosing its location. |
| Subwoofer space | Measure the available cargo area and consider enclosure dimensions, access, and load security. | Trunk space can accommodate a compact enclosure without covering the spare-tire access panel. | Choose an enclosure that fits the measured area and can be secured so it does not shift during driving. |
| Cable routing | Inspect possible paths between the battery, receiver, amplifier, and speakers. | Existing grommets and trim channels may provide protected routing paths. | Keep wiring away from sharp edges, hot components, pedals, airbags, and moving mechanisms; protect any pass-through points. |
| Installation constraints | Review vehicle service information and identify airbags, sensors, trim clips, and restricted areas. | Side-curtain airbags are located behind upper cabin trim. | Do not route or secure cables across airbag deployment zones. Follow vehicle-specific service guidance before removing trim. |
| System goals | Set priorities for sound quality, maximum output, bass response, simplicity, and cargo-space use. | Balanced cabin sound with improved front-speaker clarity and moderate bass. | Use the goals to choose compatible components and avoid adding equipment that exceeds the available space or electrical capacity. |
Planning note: The example findings are illustrative. Measure the specific vehicle and verify compatibility with its service information and the instructions supplied with each component before installation.
Related Posts
-

How to Choose the Best Car Audio System in 2026?
-

Why Upgrade Your Car Audio System for Better Sound Quality?
-

Why is Car Audio System Quality Important for Buyers?
-

Best Car Multimedia Player Features to Look for in 2026?
-

Top Car Audio Tips for an Unmatched Sound Experience?
-

10 Best Car Audio Systems for Global Buyers