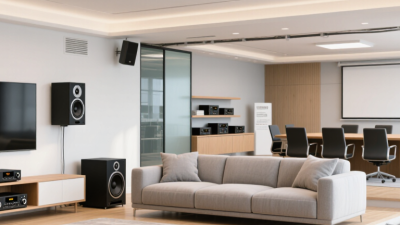
10 Audio Installation Tips for Better Sound
Great sound rarely comes from expensive equipment alone. It comes from thoughtful planning, careful placement, and a room that suits the system. Audio installation can involve a living-room stereo, a home theater, or a small commercial space. In every case, the same basics matter: clear signal paths, secure connections, sensible speaker positions, and listening tests. Small details matter.
Audio researcher Dr. Floyd Toole’s work emphasizes the relationship between loudspeakers and rooms. In paraphrase: “A loudspeaker and its room should be evaluated together.” That principle guides the ten tips ahead. A speaker may sound balanced in one corner and muddy beside a bare wall. Moving it a few inches can change the result. Measure where practical, then listen from the seats people actually use. Trust both the data and your ears.
The guide will cover room assessment, speaker placement, cable planning, calibration, and troubleshooting. It also explains when professional help can prevent costly guesswork. A tape measure, a level, and a familiar reference track are useful starting points. Not magic. Even a well-planned setup can reveal an unexpected echo or uneven bass after installation. That is worth revisiting, not hiding. Better sound usually comes from patient adjustments, honest checks, and choices matched to the room—not from chasing specifications alone.
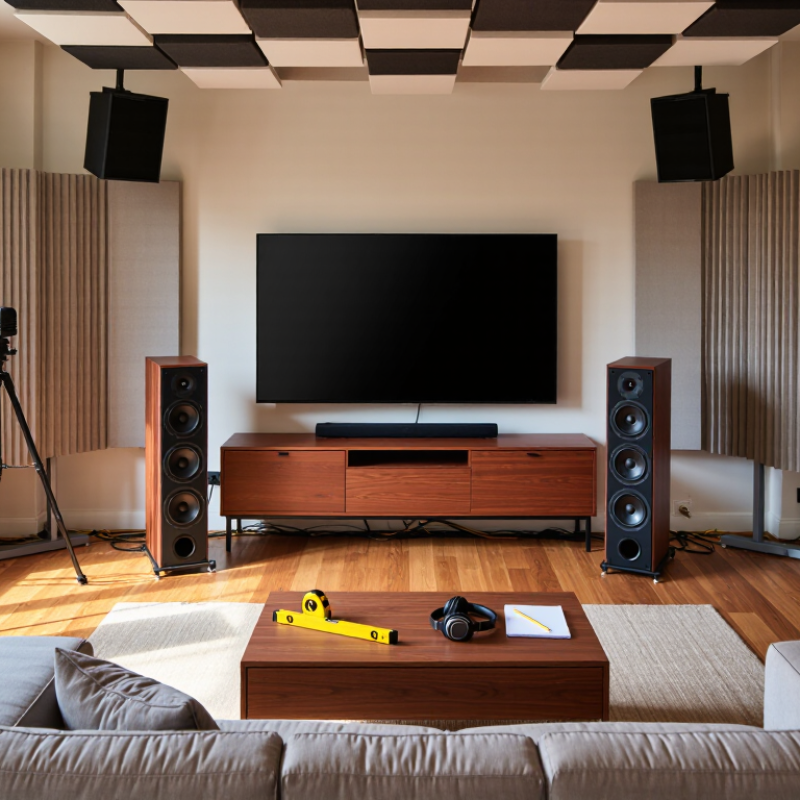
Assess the Room and Define the Audio System’s Requirements
Before choosing speakers or amplifiers, measure the room and note where people will sit. Record length, width, ceiling height, windows, hard floors, and soft furnishings. A glass wall beside the listening seat can create sharp reflections; a thick rug may reduce some high-frequency reflections but will not fix uneven bass. Small details matter.
ITU-R BS.1116-3 describes reference listening rooms with volumes of 30–100 cubic metres and reverberation times around 0.2–0.4 seconds. Treat these as controlled-listening benchmarks, not mandatory targets for every home. A compact living room may behave very differently. At 50 Hz, a sound wave is roughly 6.9 metres long, so room dimensions can strongly affect low-frequency response. Measure the space before deciding whether the system needs a subwoofer, acoustic treatment, or simpler speaker placement.
Define the system’s job, too. Is it for quiet dialogue, music across a wide seating area, or focused listening from one chair? Note the expected volume, source devices, cable routes, and any limits on drilling or visible equipment. A phone-based sound-level reading can help compare positions, but it is not laboratory-grade evidence. Even careful plans miss things. Recheck after installation, especially if bass sounds louder in one corner than another.
Select Compatible Equipment and Plan Component Placement
Before choosing speakers and an amplifier, check that their electrical specifications work together. The amplifier should support the speakers’ nominal impedance, and its power rating should suit the speakers’ recommended range. Leave some headroom; pushing an underpowered amplifier into distortion can sound harsh. Small checks matter. Also confirm that your source devices have compatible connections, such as the right input type, and that speaker cables can reach without crossing walkways. A neat diagram of the system can expose missing cables or awkward distances before installation begins.
Plan placement around the room, not just the furniture. Put left and right speakers at similar heights and distances from the main listening seat. Angling them slightly toward that seat can sharpen stereo imaging, though small adjustments by ear often work better than rigid measurements. Keep speakers clear of thick curtains and large objects. If bass sounds boomy, try moving the speakers farther from a wall; even a few inches can change the result. Place a subwoofer where its cable can reach safely, then test several positions. Rooms are imperfect. A carefully measured layout may still sound uneven because of hard floors, open doorways, or a nearby corner, so listen from the usual seat and adjust one component at a time.
Connect Audio Components Using the Correct Cables and Signal Paths
Good sound starts with a clean, sensible signal path. Connect each source’s output to the matching input on the next component. For example, a streamer’s line output should feed an amplifier’s line input, not its phono input. That input expects a much weaker, specially equalized signal. Check the labels before powering up. A small mismatch can cause distortion or very low volume.
Tips: Use cables made for the signal. RCA or 3.5 mm leads commonly carry unbalanced line-level audio; XLR cables often carry balanced audio over longer runs. Use proper speaker cable between an amplifier and passive speakers. Keep signal cables away from power cords where practical, and avoid tight coils. Make connections with equipment switched off.
Trace the route on paper if several devices are involved: source, mixer or processor, amplifier, then speakers. Keep left and right channels consistent, and match red and black speaker terminals at both ends. If a hum appears, test one connection at a time rather than replacing every cable. It is easy to blame the speakers too quickly. Cable routing may be the overlooked part, though a faulty cable or ground issue can also be responsible. Recheck the path after moving equipment; one plug can end up in the wrong socket.
Position Speakers for Clear, Balanced Sound Coverage
Place speakers to serve the seats people actually use, not just the room’s visual center. For a stereo setup, aim both speakers toward the main listening position and keep their distance from it similar. ITU-R BS.1116-3 specifies a 60-degree angle between front speakers for critical stereo listening, placing them roughly 30 degrees to either side. Start with symmetry. A sofa shifted toward one wall may need a slightly adjusted setup, since nearby walls can make one speaker sound louder or bass-heavy.
For surround sound, ITU-R BS.775-3 places the front left and right speakers at about ±30 degrees, with surround speakers around ±100 to ±120 degrees. Treat these as practical reference points, not magic numbers; room shape and furnishings change what listeners hear. Keep tweeters near seated ear height, and avoid hiding speakers behind thick curtains or cabinets. A quick test helps: play clear speech, then listen from each seat. If voices seem to pull toward one side, check speaker distance and toe-in before changing levels. Hard floors and bare walls can add sharp reflections. A rug or filled bookshelf may soften them, though it will not fix every uneven response.
Configure, Test, and Fine-Tune the System’s Audio Settings
Start with a repeatable baseline: set speaker distances, channel levels, and subwoofer crossover before applying room correction. Use a tape measure, then confirm each channel with a test tone. Keep notes. The ITU-R BS.1116-3 listening-test recommendation describes room reverberation times of roughly 0.2–0.4 seconds across 200 Hz to 4 kHz. Your room may differ, but that range is a useful reference when reflections make speech sound smeared. Move the listening position slightly and test again; a few centimetres can change bass noticeably.
Check playback level and clipping with familiar dialogue and music. If the system plays broadcast material, the EBU R 128 recommendation sets programme loudness at -23 LUFS; treat that as a broadcast reference, not a universal home-listening target. Listen at a comfortable level, compare quiet and loud passages, and adjust channel balance before boosting treble or bass. It is tempting to trust the calibration graph too much. Use it as a clue, then listen from the seats people actually use. Recheck after moving furniture or speakers. Small changes matter. Keep one setting that sounds natural, even if the measurement looks less tidy.